How to set up a boundary on the Pico Neo 3 from start up
- When turning on the Pico Neo 3 the headset should ask to set up the boundary area.
- Here you can choose between a Quick Setup or Custom.
- If you choose Quick Setup, your playing area is circular and you can set it to 3 different sizes. You can also choose to play sitting or standing.
- If you choose Custom, you can first set the height of the floor in your room using the Trigger button. After that you need to draw your playing area on the floor.
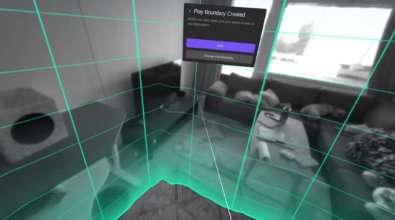
- Once you are done with the setup, you can press Start Play to proceed. If you are not satisfied, click Reset Play Area.
How to set up a new boundary from the menu
- From the home menu, click on the Play Boundary button, which is located in the bottom menu bar.
- This will open the same menu that appears when turning on the device. Here you can choose between a Quick Setup or Custom.
- If you choose Quick Setup, your playing area is circular and you can set it to 3 different sizes. You can also choose to play sitting or standing.
- If you choose Custom, you can first set the height of the floor in your room using the Trigger button. After that you need to draw your playing area on the floor.
- Once you are done with the setup, you can press Start Play to proceed. If you are not satisfied, click Reset Play Area
You should now know how to set up a boundary on the Pico Neo 3.